MPLAB Integrated Development Environment (IDE) is a free, integrated toolset for the development of embedded applications employing Microchip's PIC® and dsPIC® microcontrollers. MPLAB IDE runs as a 32-bit application on MS Windows®, is easy to use and includes a host of free software components for fast application development and super-charged debugging. MPLAB IDE also serves as a single, unified graphical user interface for additional Microchip and third party software and hardware development tools. Moving between tools is a snap, and upgrading from the free software simulator to hardware debug and programming tools is done in a flash because MPLAB IDE has the same user interface for all tools.
Source: www.microchip.com
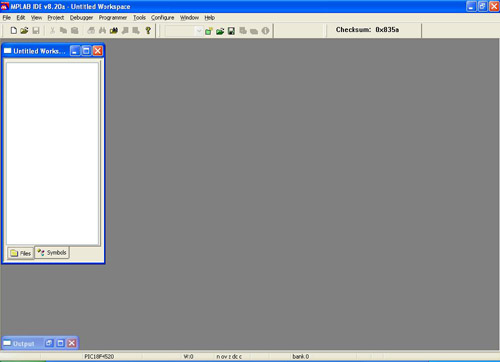
Step 1: Go to Start > All Program> Microchip > Microchip IDE V8.20a > MPLAB IDE
Step 2: Now Following windows will appear.
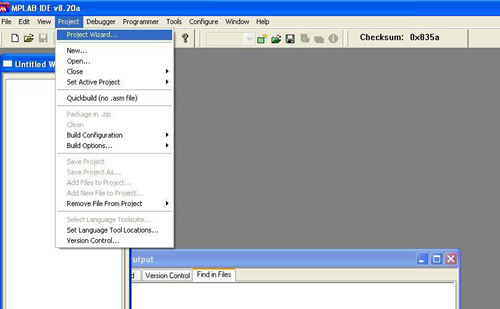
Step3: Go to Project > Project Wizard
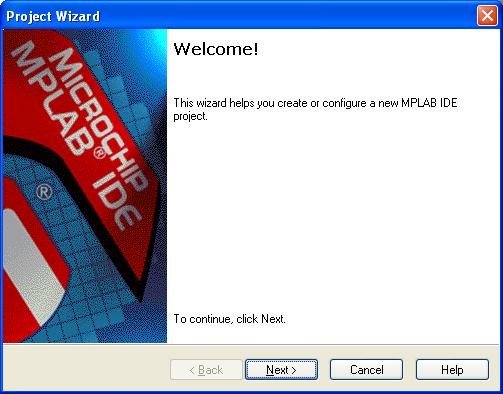
Step 4: Click next to configure the project.
Step 5: Chose the Device PIC18F4520 and any device for PIC18F Series.
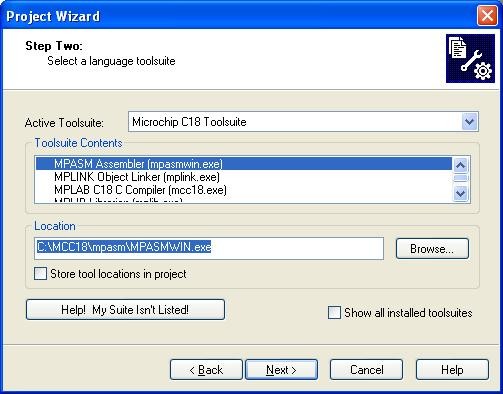
Step 6: Choose Select Language Tool Suite (Microchip C18 Tool suite) For MPLAB C18 Complier MPASM Assembler (mpasmwin.exe) as give path from Browse as in C:\MCC18\mpasm\MPASMWIN.exe shown below:
Step 7: Choose Select Language Tool Suite (Microchip C18 Tool suite):
MPLINK Object Linker (mplink.exe) give path from Browse as in C:\MCC18\bin\mplink.exe shown below:
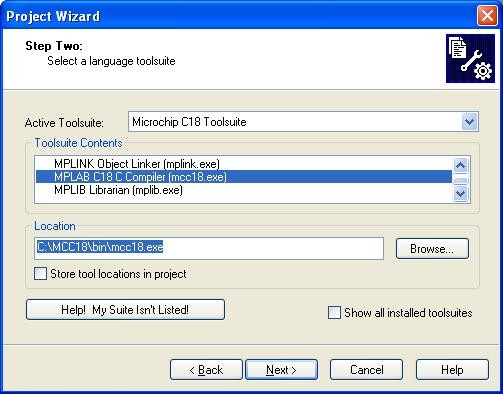
Step 8: Choose Select Language Tool Suite (Microchip C18 Tool suite):
MPLAB C18 C Complier (mcc18.exe) as give path from Browse as in C:\MCC18\bin\mcc18.exe shown below:
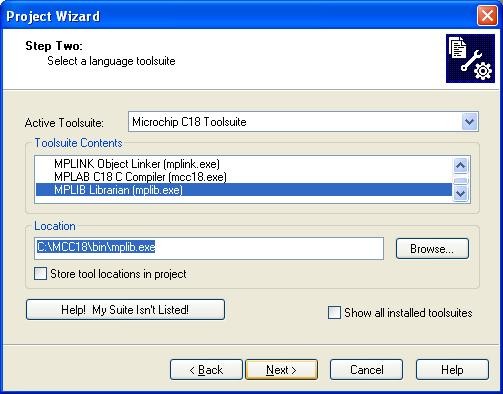
Step 9: Choose Select Language Tool Suite (Microchip C18 Tool suite):
MPLIB LIBRAIAN (mplib.exe) as give path from Browse as in C:\MCC18\bin\ mplib.exe shown
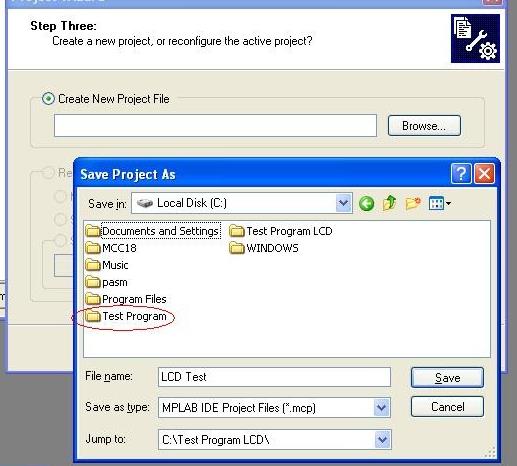
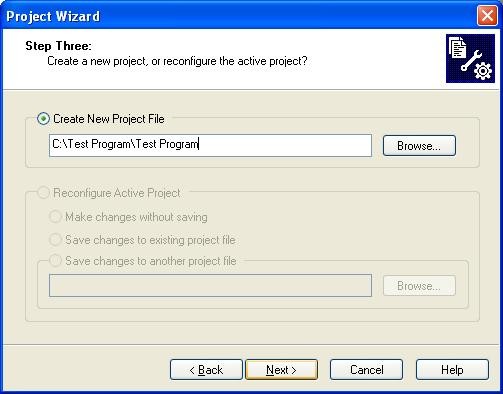
Step 10: Now Browse and Make New Folder as Test Program.
Step 11: Now Click Next.
Step 12: Now you can view the Summery. MCU Used, Tool Set Used.
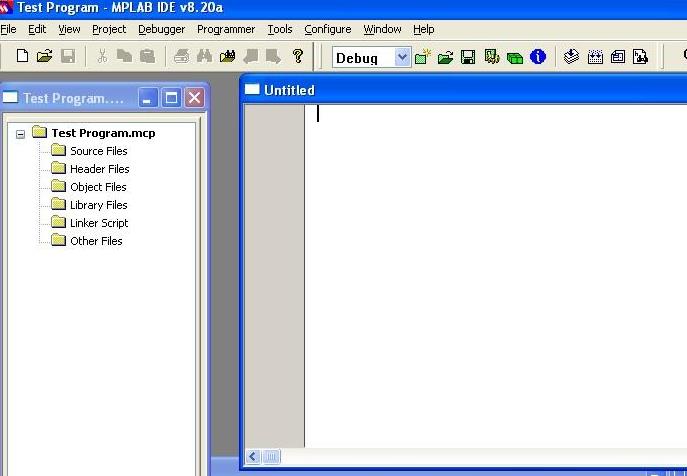
Step 13: Now Click on File>New.
Step 14: A New Sheet will open you have to write the code here.
Click here for Part2 of the article.