There is a complete free and open source toolchain for 8051 microcontroller.
This is the combination of following...
1. Eclipse IDE
2. SDCC Compiler
1. Eclipse IDE
Eclipse is free and open source ide, which is now a days used widely across different development tools. This ide was initially developed by IBM and later donated to open source community. This IDE is used for JAVA, PHP, C/C++ etc developments. There are lot of plugins available for different purposes, these plugins are available either free of cost or commercially.
For more about eclipse, you can download it from following link
https://www.eclipse.org/
2. SDCC (Small Device C Compiler)
SDCC (Small Device C Compiler) is free open source, retargettable, optimizing ANSI-C compiler by Sandeep Dutta designed for 8 bit Microprocessor.
- 8051 family
- Freescale (formerly Motorola) HC08C
- Zilog Z80
It is also disturbed under GPL
To read more CLICK HERE
Development Tools for 8051
For 8051 we need following tools
1. Eclipse IDE for C/C++ Developer
2. SDCC compiler for window
3. Eclipse Plugin for SDCC compiler
All above mentioned tools are free of cost, let us see then in detail.
Download Eclipse IDE for C/C++ Developers
Download Eclipse IDE for C/C++ development from Eclipse Website
Click Here
Downloading Eclipse Plugin for SDCC
For eclips plugin click on following link.
Eclipse SDCC
http://eclipse-sdcc.sourceforge.net/
Following is the link for downloading eclipse plugin
Click Here
Installation Procedure
Now we have all the tools needed to prepare our free development tool chain for 8051 microcontoller. Let us install them.
Install SDCC
Just click on the setup file and installation will start.
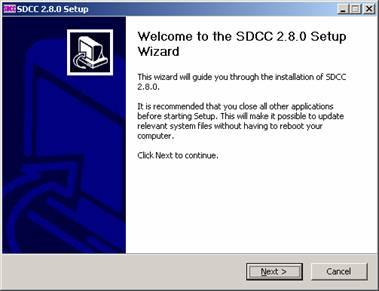
Click on NEXT to proceed further.
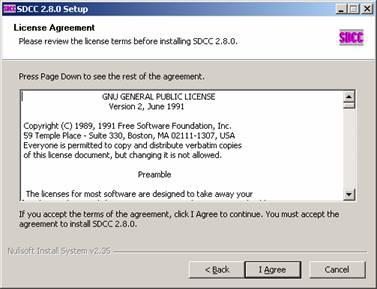
Here accept this GNU license.
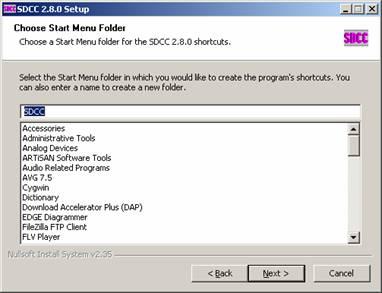
Choose the SDCC folder here.
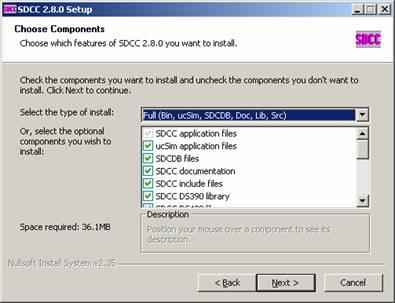
At this point, we have to choose components of SDCC for that choose all here.
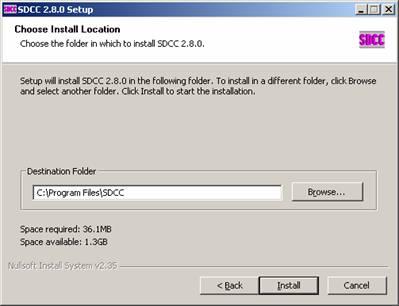
Here choose installation path as per your system.
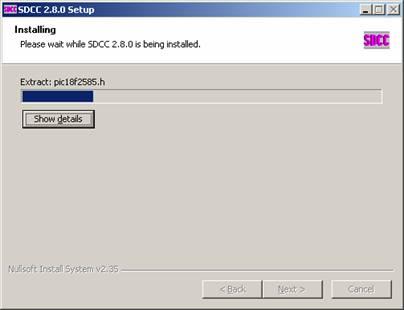
Installation is going on…
After that it will ask you to add SDCC installation path in your into your PATH variable, just make sure that is is checked and click on Finish.
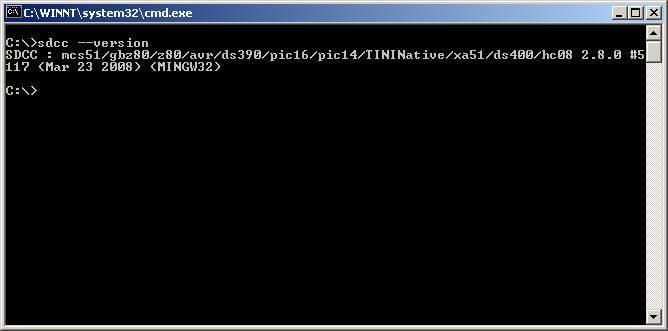
Checking sdcc installation.
To check whether SDCC is properly installed or not, just open DOS Prompt and type sdcc-version.
This command will show you version of SDCC compiler installed in your PC.
Installing Eclipse
Installation of eclipse is very simple, just extract the zip fine into C drive.
Just right click the archive and extract it into C drive.
Checking Eclips installation.
After that a folder in the name of eclipse will be created.
Now there will be eclipse.exe file in that folder just double click on that file and eclipse will start.
Installing Eclipse Plugin for SDCC
Installation of the eclipse plugin little tricky. Actually for installation of eclipse plugin we just have to copy files into corresponding folder.
Actually in eclipse there are two folders
C:\eclipse\features
and C:\eclipse\plugins
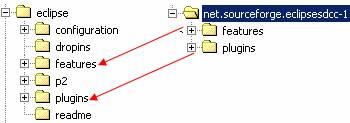
same two folders will also be there in your downloaded plugins, so actually we just need to copy content of plugins and features folder of [net.sourceforge.eclipsesdcc-1.0.0-win32.x86] folder.
I hope this figure will tell complete story
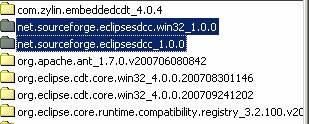
After copying content from net.soruceforge.eclilpsesdcc folder into corresponding eclipse’s plugins and features folder, content of features and plugins will be as following.
Feature folder
Plugins folder
See only highlighted folders only , because rest of folders depends on other plugins which are installed in our PC.
Creating project
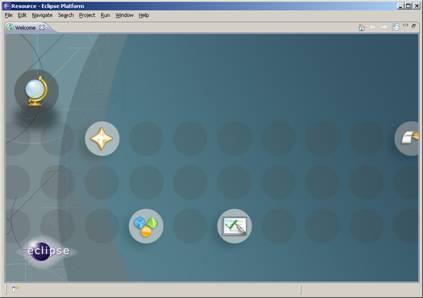
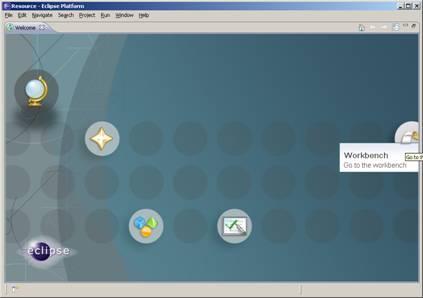
Click on eclipse.exe present in eclipse installation directory, eclipse welcome window will open.
Click on Go to workbench button to reach to workbench.
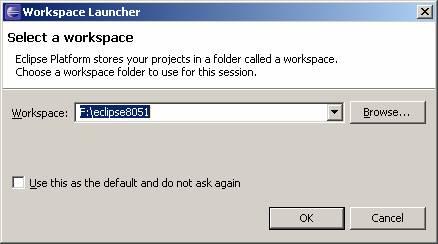
And workspace launcher will opened, Choose appropriate workspace file.
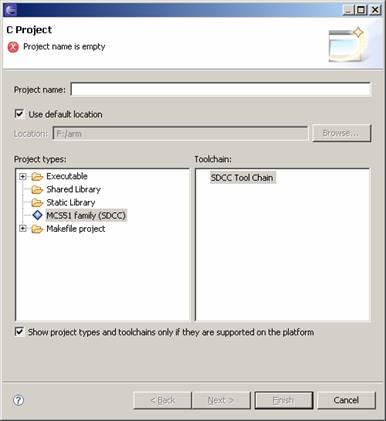
Just open File > New > C Project
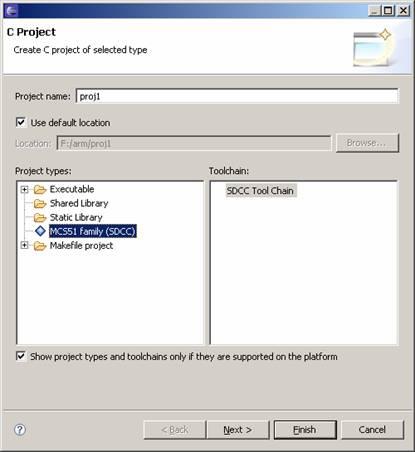
In Project window give project name and select project type.
In this window choose MC551 family as project type.
Next step is selecting output configuration.
In configuration choose both options release and debug.
In Release configuration, generated output file will not contain debugging information. In Debug configuration, generated output file will contain debug information. In order to download fine into flash memory choose Release configuration option. e configuration, generated output file will not contain debugging information.
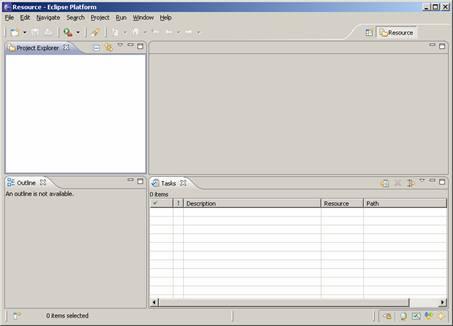
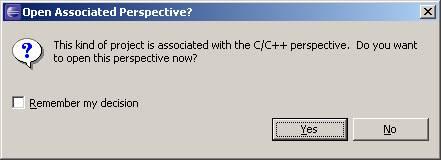
In Next step ecllipse will ask to choose perspective, Click on yes here because we want to use C/C++ work here.
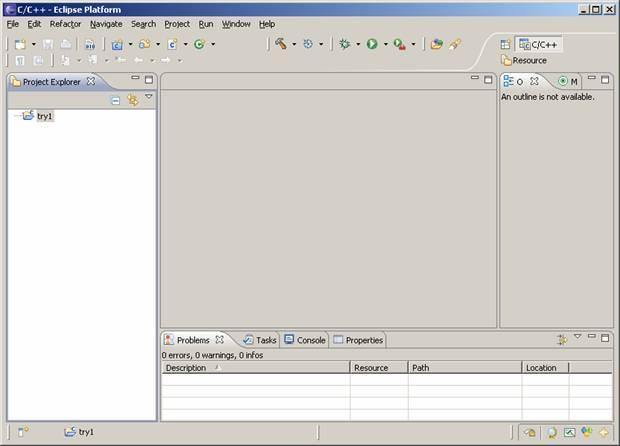
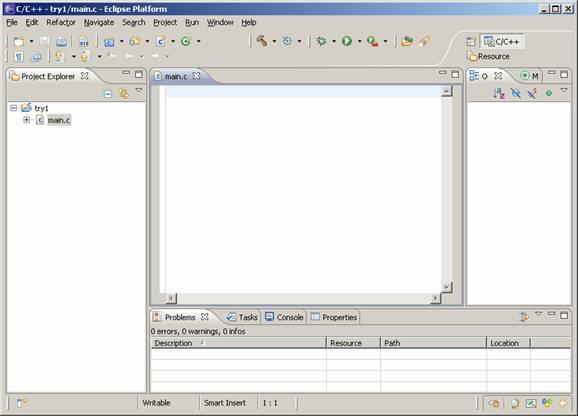
This is the view of eclipse IDE. Now we need to add C source file here.
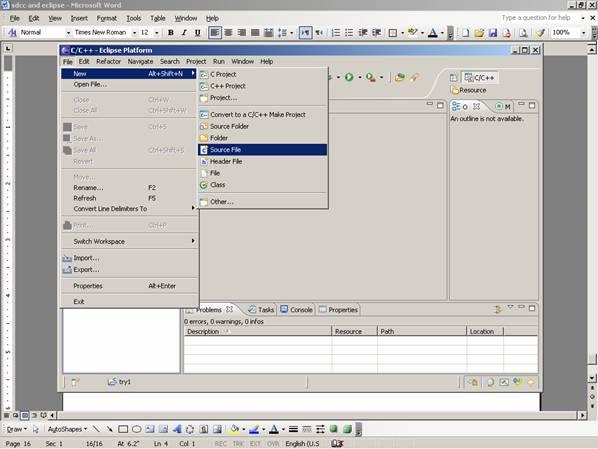
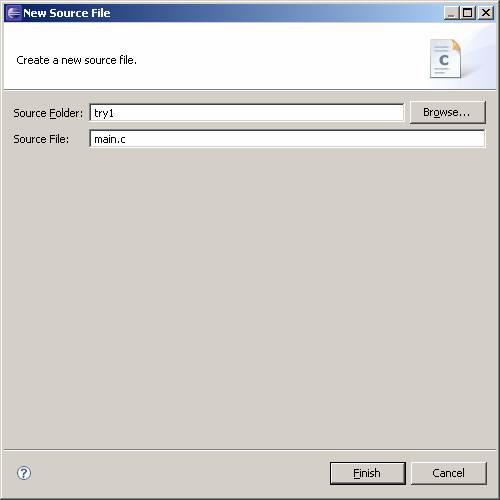
For that go to File > New > C Source File
Give the C file name.
It will open in new new tab.
add following C code in main.c file
#include <8051.h>
void delay()
{
int i,j;
for (i = 0;i<=100;i++)
for (j = 0;j<=100;j++);
}
void main()
{
while (1)
{
P1_0 =0; // led glow
delay();
P1_0 = 1; // led off
delay();
}
}
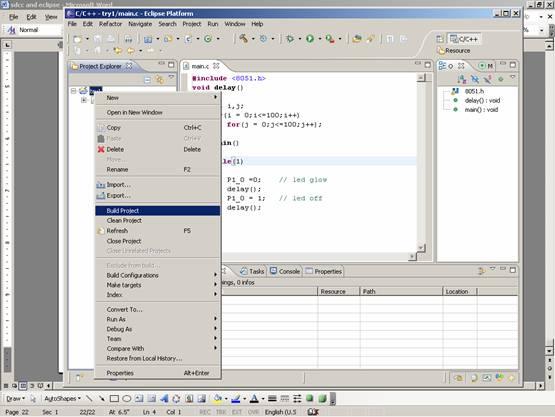
Now build the project as shown below.
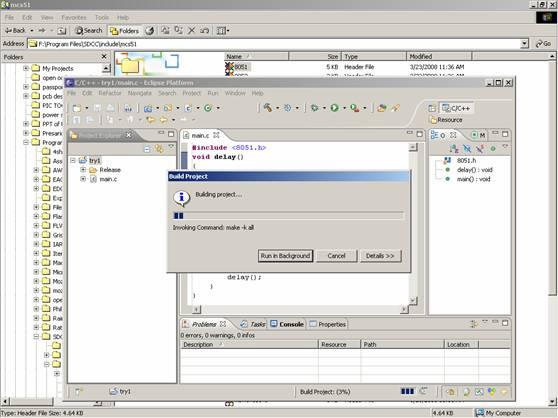
Building is taking place.
After building Release directory will be created. This directory contain .ihx file. This file can be downloaded into flash memory.
To download ihx file into memory use programmer.
For further working of SDCC compiler please refer to the sdccman.pdf present in \SDCC\doc directory.